|
|||||||||||||||||
Garden Soil Preparation Garden soil preparation is really simple. You can make it as complicated as you want with soil testing and more, but it doesn't have to be this complicated. Generally, if there were plants growing in the garden soil before, it is adequate for planting with a little amendment. There are two reasons to have good garden soil. The first is drainage. If your soil is too dense with clay, it will not drain properly and your flowers will not thrive. If it is too sandy, the water will drain too quickly. Secondly, the plants in your garden get nutrients from the soil. If your soil is lacking in the proper nutrients for a healthy plant, your garden will not last. First of all, check soil consistency. Take a handful of soil, and clench it in your hand. If it holds together in a clump, and breaks apart with a gentle touch of a finger, it is ok for planting. If it is dense and solid as you dig the soil, it may have clay in it and should be mixed with soil amendments. It is also important to remove any large quantity of rocks. If your soil is too sandy, it may also need amendments to make it more suitable for planting. It is a good idea when planting, to mix in a general purpose amendment with the existing soil. Something to give it a little boost in nutrients as well as the right consistency. Most shade garden plants will be fine with this prepared soil. Some plants such as azaleas and camellias need peat moss mixed into the soil. Ask your local garden center associate for help in choosing what is best for you. Using Amended Soil in your Garden Don't worry too much about amending the entire area of garden soil. If the soil is amended around the plants, it should be fine for a healthy garden. If your soil is adequate, just dig a hole a few inches wider and three inches deeper than the root ball of the plant. Then mix around one half existing soil with amendment in the bottom of the hole and put a couple inches of water in the hole. Let the water settle before placing your plant in the hole. There is no need to tamp down the new soil, let it settle naturally so the plant roots will be able to grow easily. The root ball should be just about level with the surrounding soil. If it is too low, it may die, as the roots need oxygen to thrive. If it is too high, the roots may dry out. Then fill in one half the hole surrounding the root ball with the same mixture of amended and existing soil. Water and let the soil settle before filling in the rest of the hole. Water again and fill as needed. The amended soil around and below the root ball will give your plants a jumpstart to a healthy long life. It is also a good idea to add mulch such as bark or other natural material to help keep the soil cool around the plants. Next, we will look at selecting the proper plants for your shade garden. Shade Garden Plans - Shade Garden Plants >>
|
|||||||||||||||||
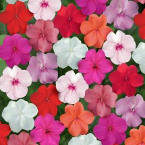
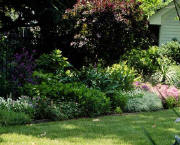
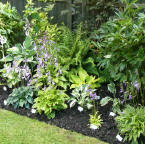
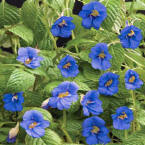
Shade Garden Plans Soil Preparation • Shade Garden Plant Selection • Shade Garden Plans • Shade Loving Plants Photos